This guide provides step-by-step instructions on how to set up an authorized user for your student account. By following these steps, you can grant access to a parent or bill payer to receive billing notices, view account activity and statements, and make payments online. Setting up an authorized user does not authorize Student Business Services (SBS) to discuss your student account with the user, so a valid FERPA on file is required for that. The guide also emphasizes the importance of the authorized user resetting their password after receiving the temporary password via email.
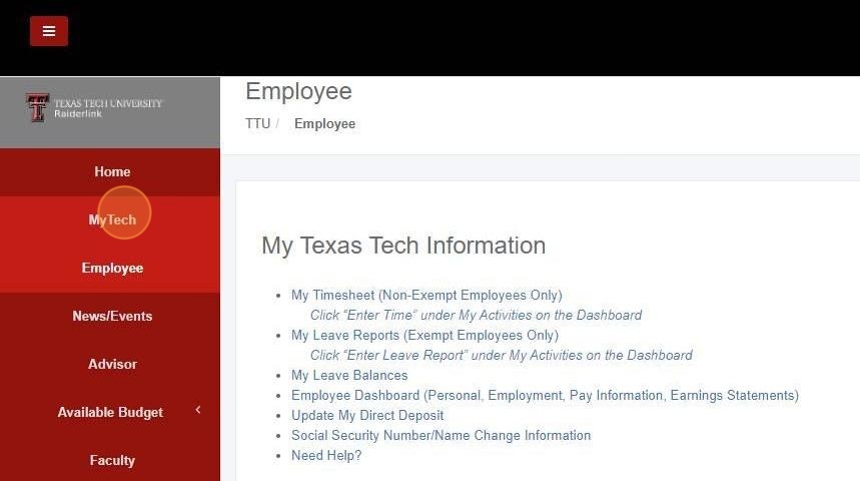
1. Sign in to Raiderlink at raiderlink.ttu.edu
Once in Raiderlink select the "MyTech" tab on the left-hand side of the homepage.
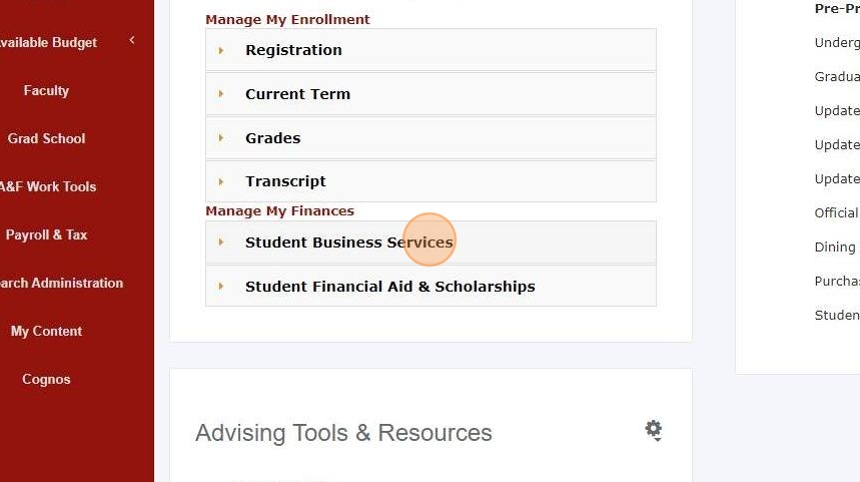
2. Select "Student Business Services" under the "Manage My Finances" section of the MyTech tab.
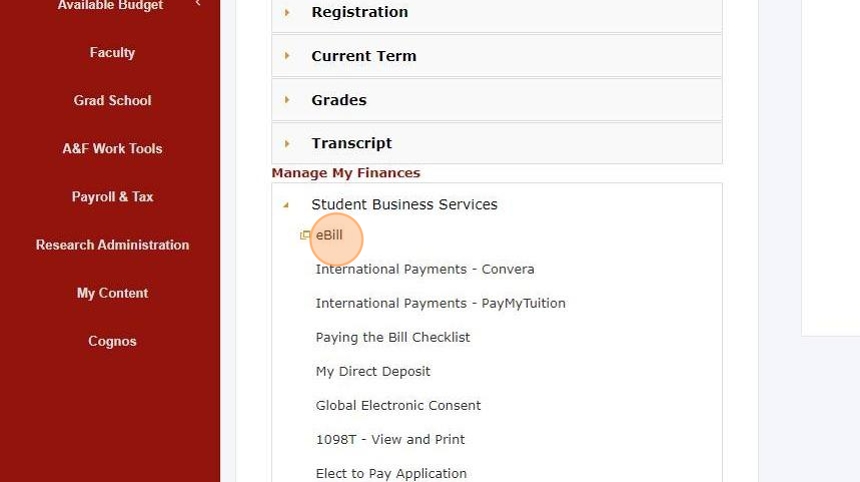
3. Select "eBill" option under Student Business Services
4. eBill will open up in a new tab.
Select "Authorized Users" on the top right-hand side of the homepage.
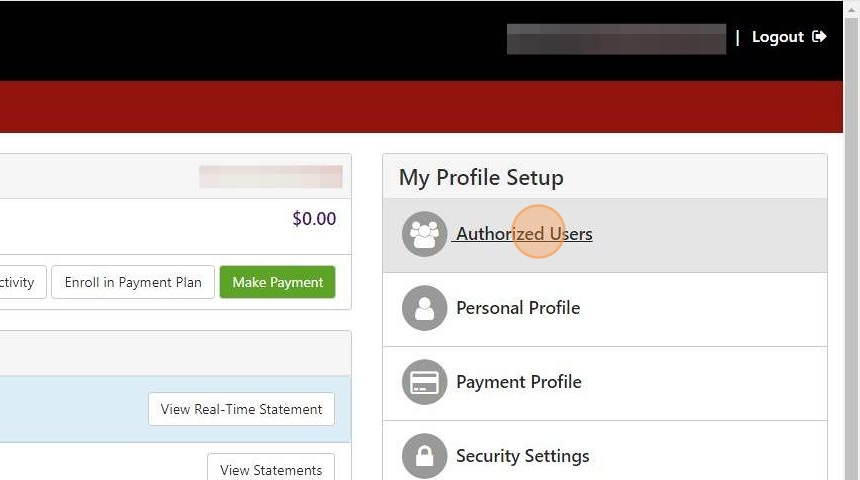
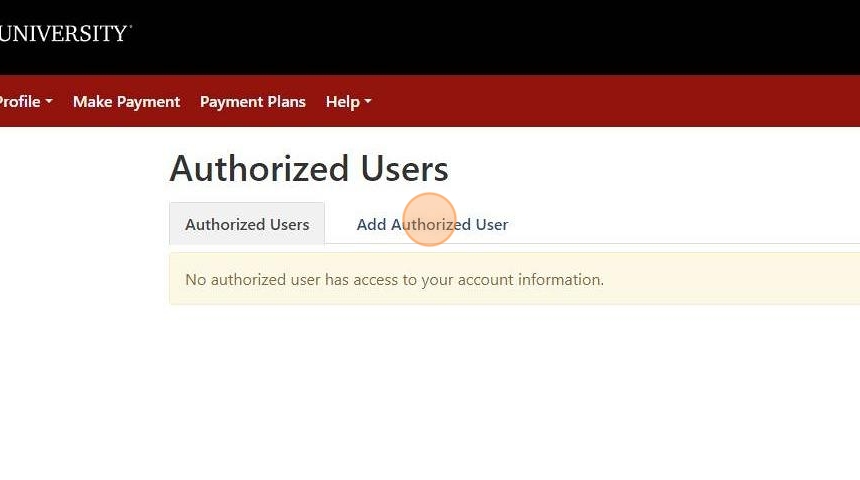
5. This will open the Authorized User options. Select "Add Authorized User"
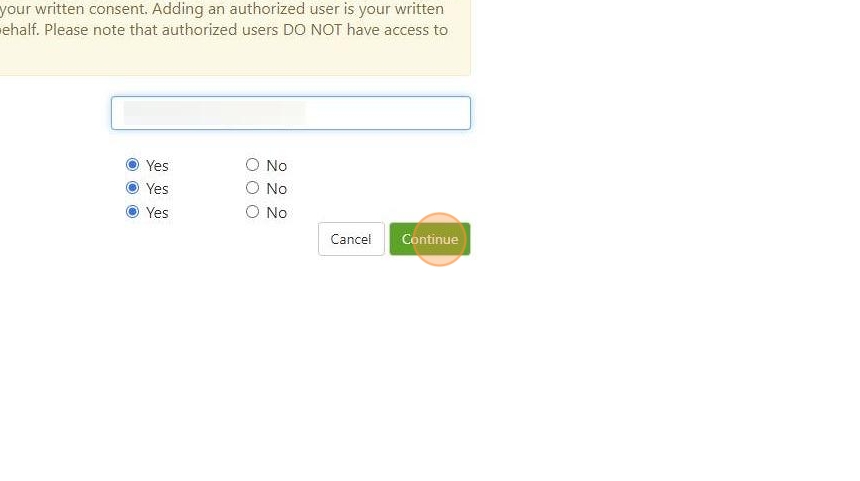
6. Enter the email address of your authorized user and select what you would like for them to have access to.

Alert: Please note: Setting up an Authorized User allows parents/bill payers to receive billing notices, view account activity and statements, and make payments or enroll into a payment plan online. If you need FERPA access, sign in to TTU CampusESP.
7. Once you have entered the email address for the authorized user and made your selections, you will select "Continue"
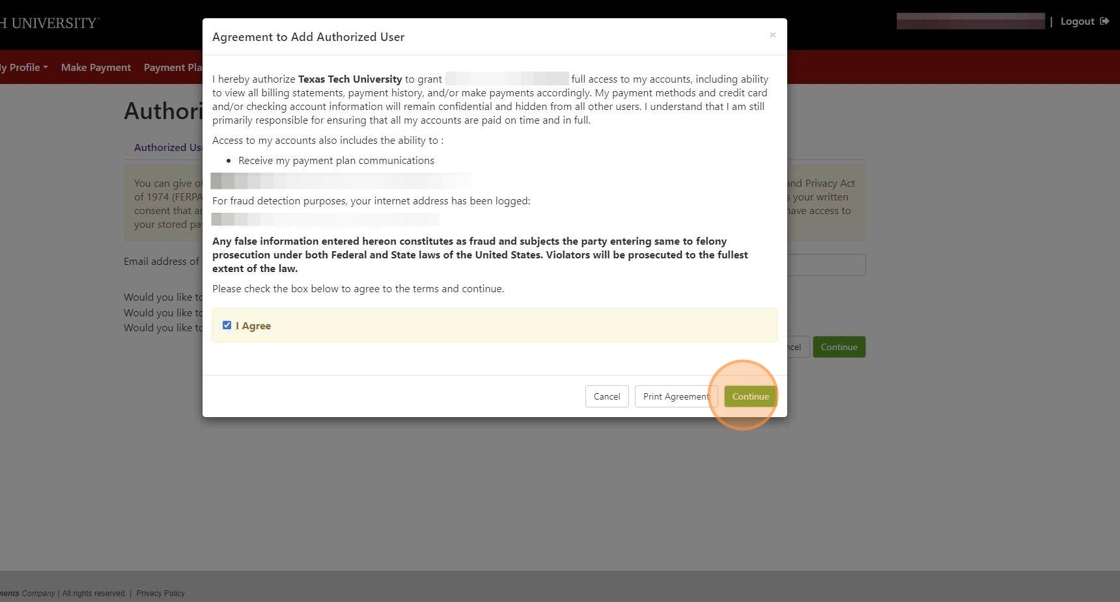
8. You will want to read the Authorized User Agreement and select "I Agree" at the bottom.
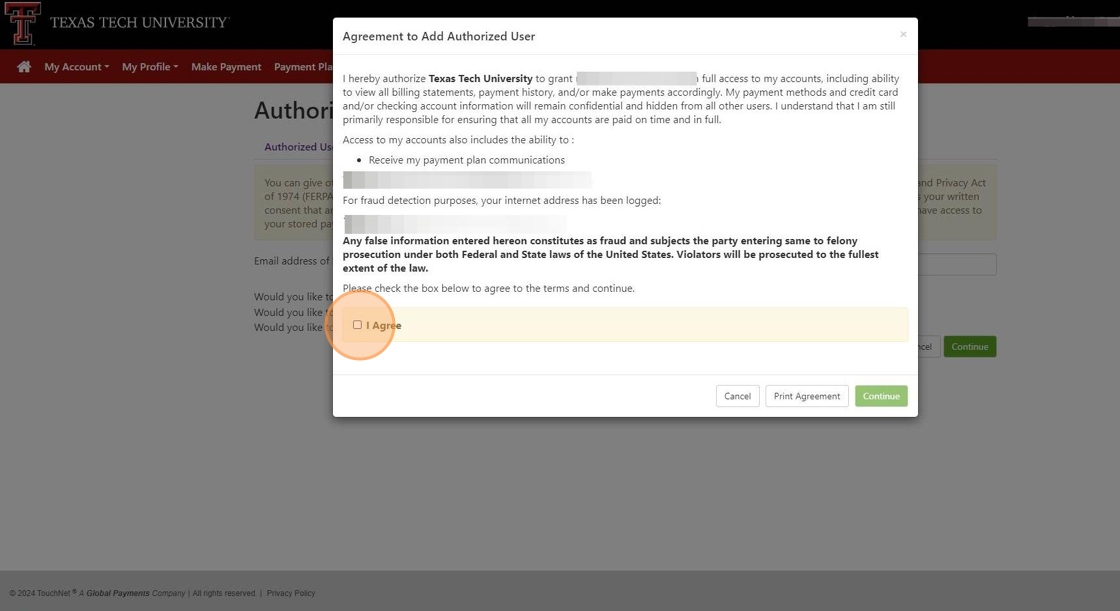
9. Once you have agreed to the Authorized User Agreement, you select "Continue"
10. Your Authorized User will receive two emails. One email will let them know they have been granted access. The other will contain a temporary password to log in. They will need to reset their password to a permanent one at their first login.
TIP! Check Junk Mailbox if emails are not seen in Inbox
Alert: Your Authorized User will need to log in and set up their permanent password as soon as possible to avoid the need to complete the steps again.
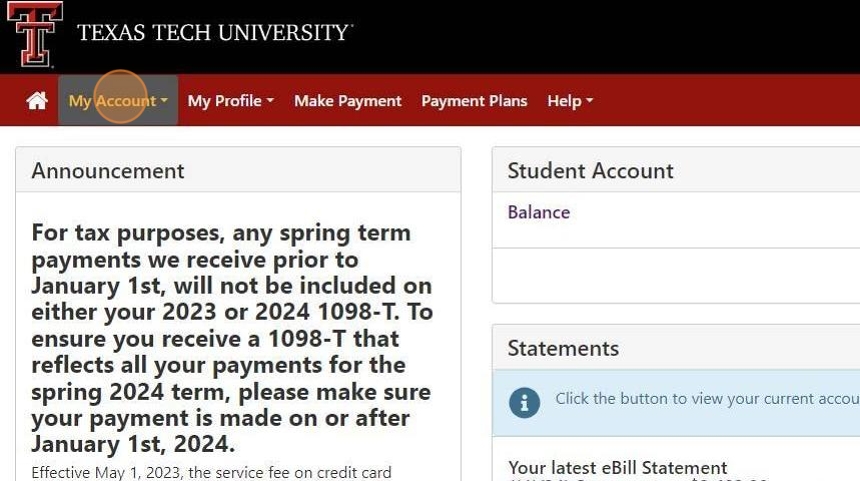
11. Once you have completed your Authorized User set up, you will want to select "My Account" to view/pay your account or "Logout" to exit eBill.