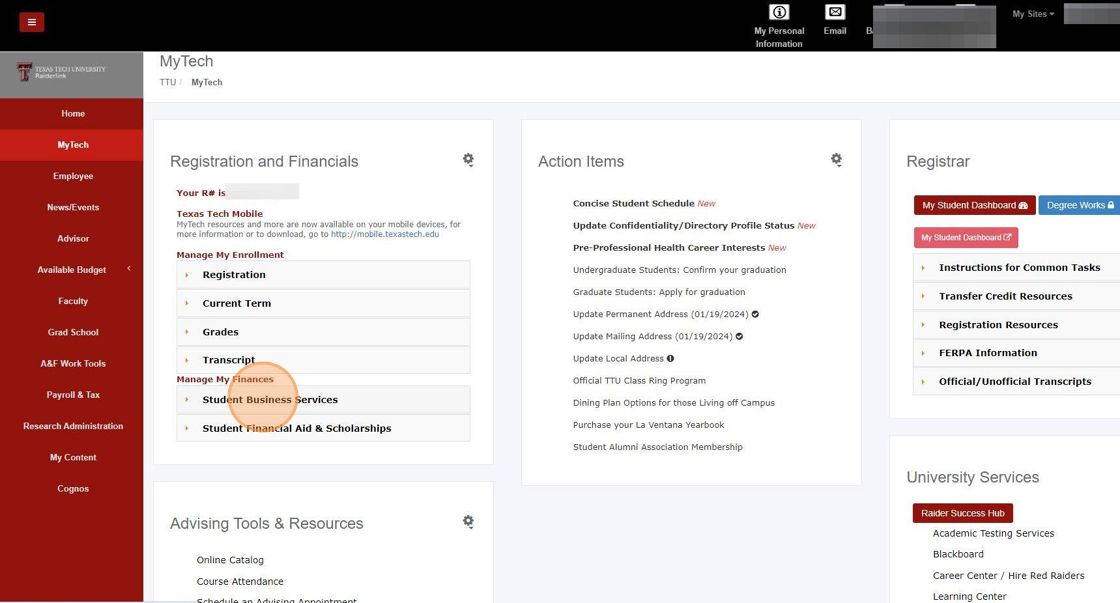
1. Sign in to your Raiderlink and select the "MyTech" tab on the left-hand side.

2. Select "Student Business Services".

4. You will be automatically redirected to your eBill account.
ALERT! If you are an authorized user, you will select "Authorized User" and enter your email and password.
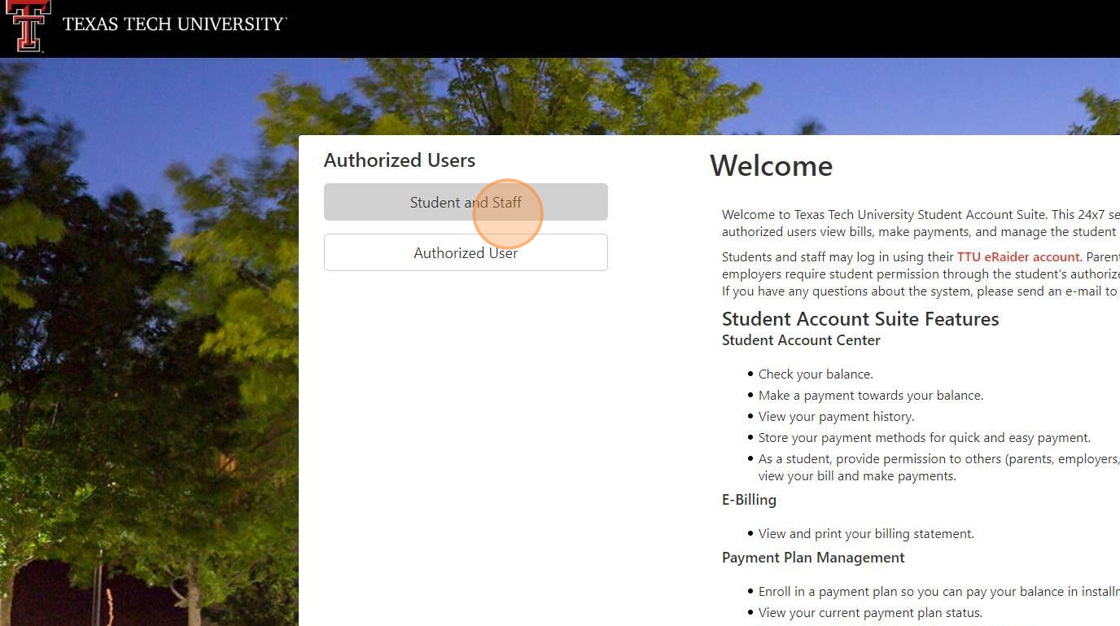
5. Once you have entered your information, select "Login".

Alert! If you have not set up your Multi-Factor Authentication, you will be prompted to do so at sign-in. If you have already completed this step, skip to step 14.
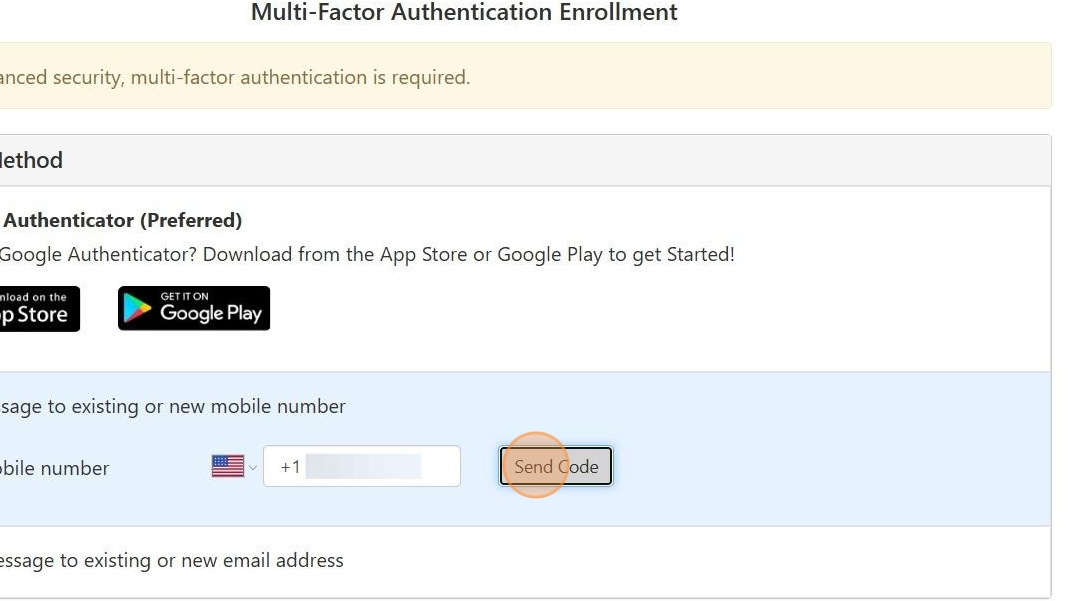
6. Select which Primary Method you would like to use for your Multi-Factor Authentication Enrollment.

7. Enter your mobile number (including the "1" in front of the number), email, or scan the QR code or unique key on the screen (for Google Authenticator).

8. Select "Send Code".
9. Enter the code received and select "Verify".

10. To complete the OPTIONAL "Backup Method", select "Setup Method" and complete the steps provided.

11. Select your backup method below:

12. You can select an existing email, or you have the option to enter a new email and send a code.

13. Select "Continue".

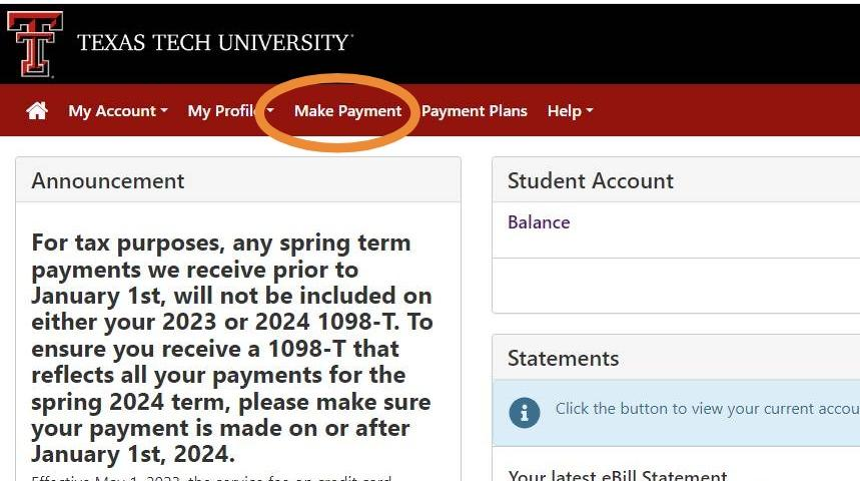
14. Once you have completed your Multi-Factor Authentication, your home screen should look like the image below:

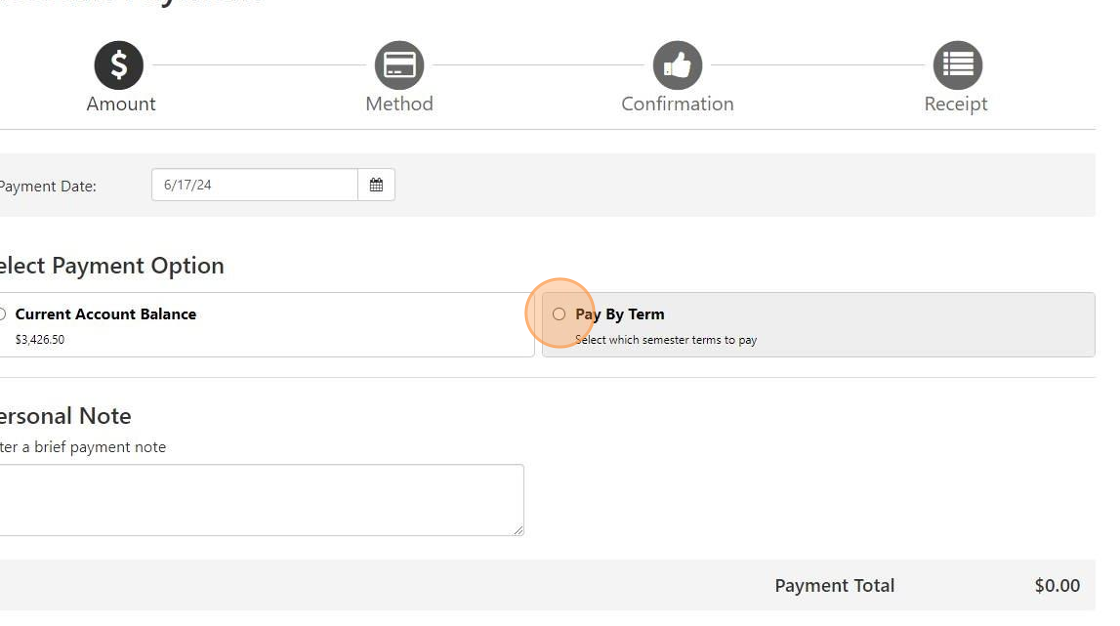
15. Select the tab for "Make Payment" at the top of your homepage.
16. You can choose to "Pay By Term" (which allows you to select specific terms and balances).
Or, you can choose to pay "Current Account Balance".
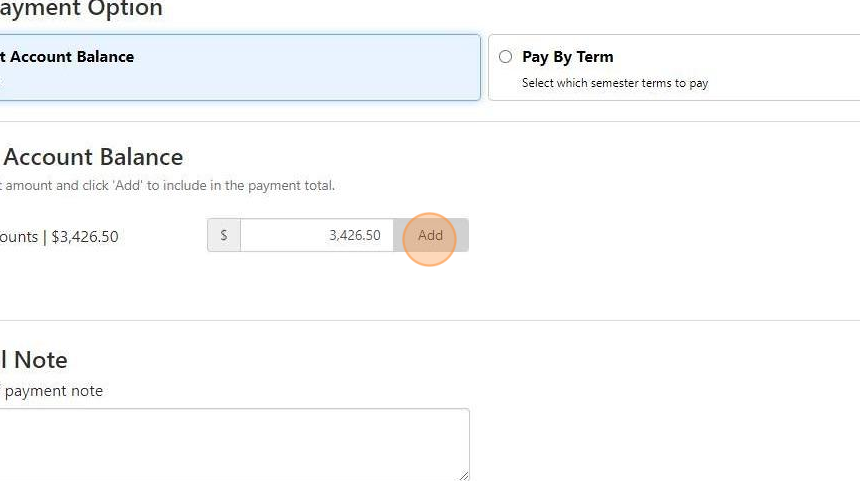
17. After making your selection and verifying the payment amount displayed in the payment box, select "Add" to apply the amount to your payment.

18. After adding the payment amount, review it again for accuracy, then select "Continue" to proceed.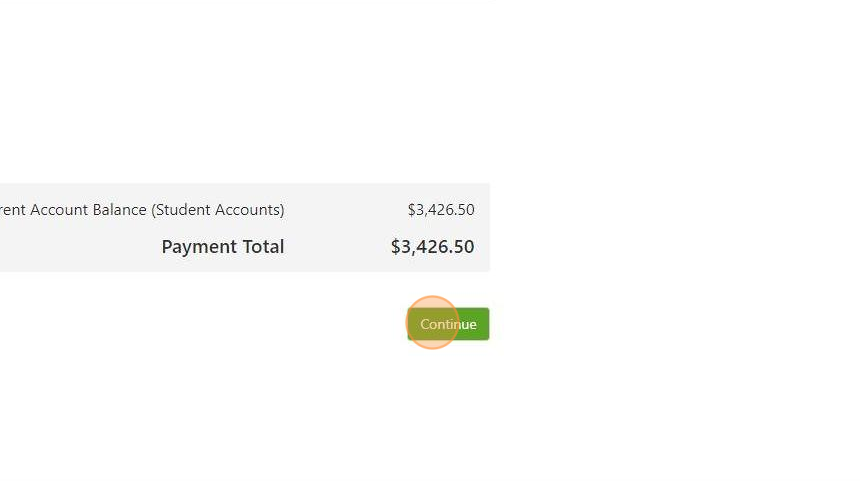
19. Select the type of payment method you wish to use from the drop-down.
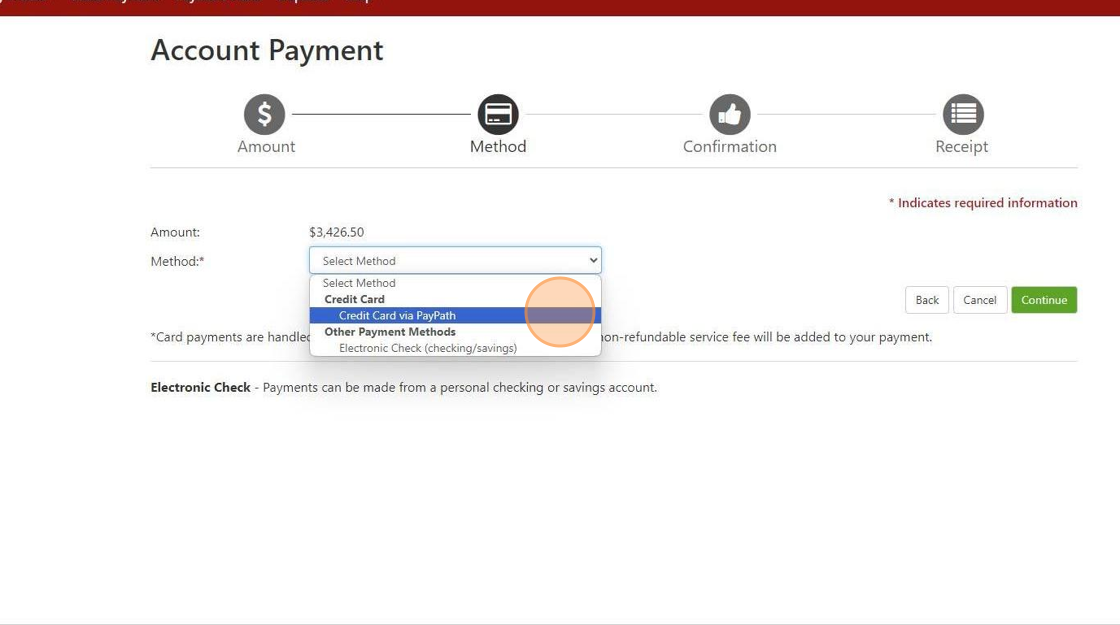
20. Once you have selected your payment method, select "Continue".

21. Review the payment details carefully. If you selected "Credit Card via PayPath", click "Continue to PayPath" to enter your card information securely.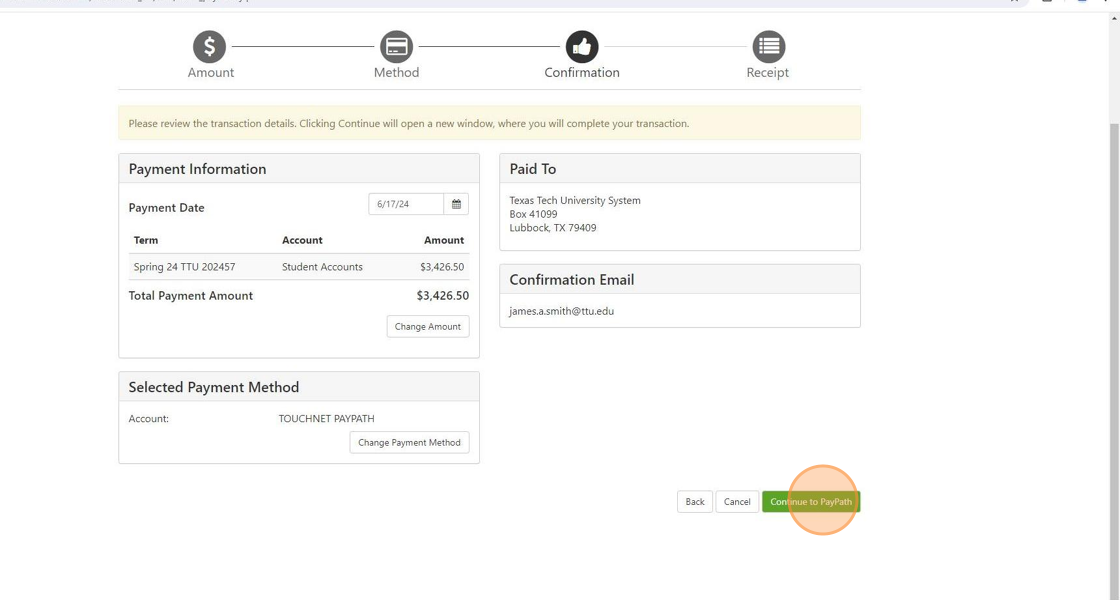
22. Review the PayPath statement, service charge, and the payment amount. After confirming the details, select "Continue" to proceed.

23. Enter the required billing information for the selected card. Once all fields are completed, select "Continue" to proceed.

Alert! From this step, you will receive a confirmation message. If this is not received, your payment did not go through. After the confirmation page, you will be able to view and print your receipt.
24. If you select Electronic Check, choose it as your payment method and follow the prompts.
Enter the required bank account information when prompted (see example below). Once everything is verified, select "Continue".

Alert! From this step, you will receive a confirmation message. If this is not received, your payment did not go through. After the confirmation page, view and print your receipt.
25. Select Debit Card from the payment method dropdown and follow the on-screen prompts. Complete all steps through to the confirmation notification.